
How to Create a Header for Your Blog
This is part 3 of how to start a profitable blog if you haven’t read parts 1 & 2 they are linked below this post!
Now that you have a blog, and a theme it is time to make your blog better looking so you will attract more readers.
How are we going to do that? With a cute and simple logo that you are going to create for free.
Creating A Logo
Creating a logo as someone who is not a graphic designer is easier than you might think!
1. Go to Canva.com sign up / login.
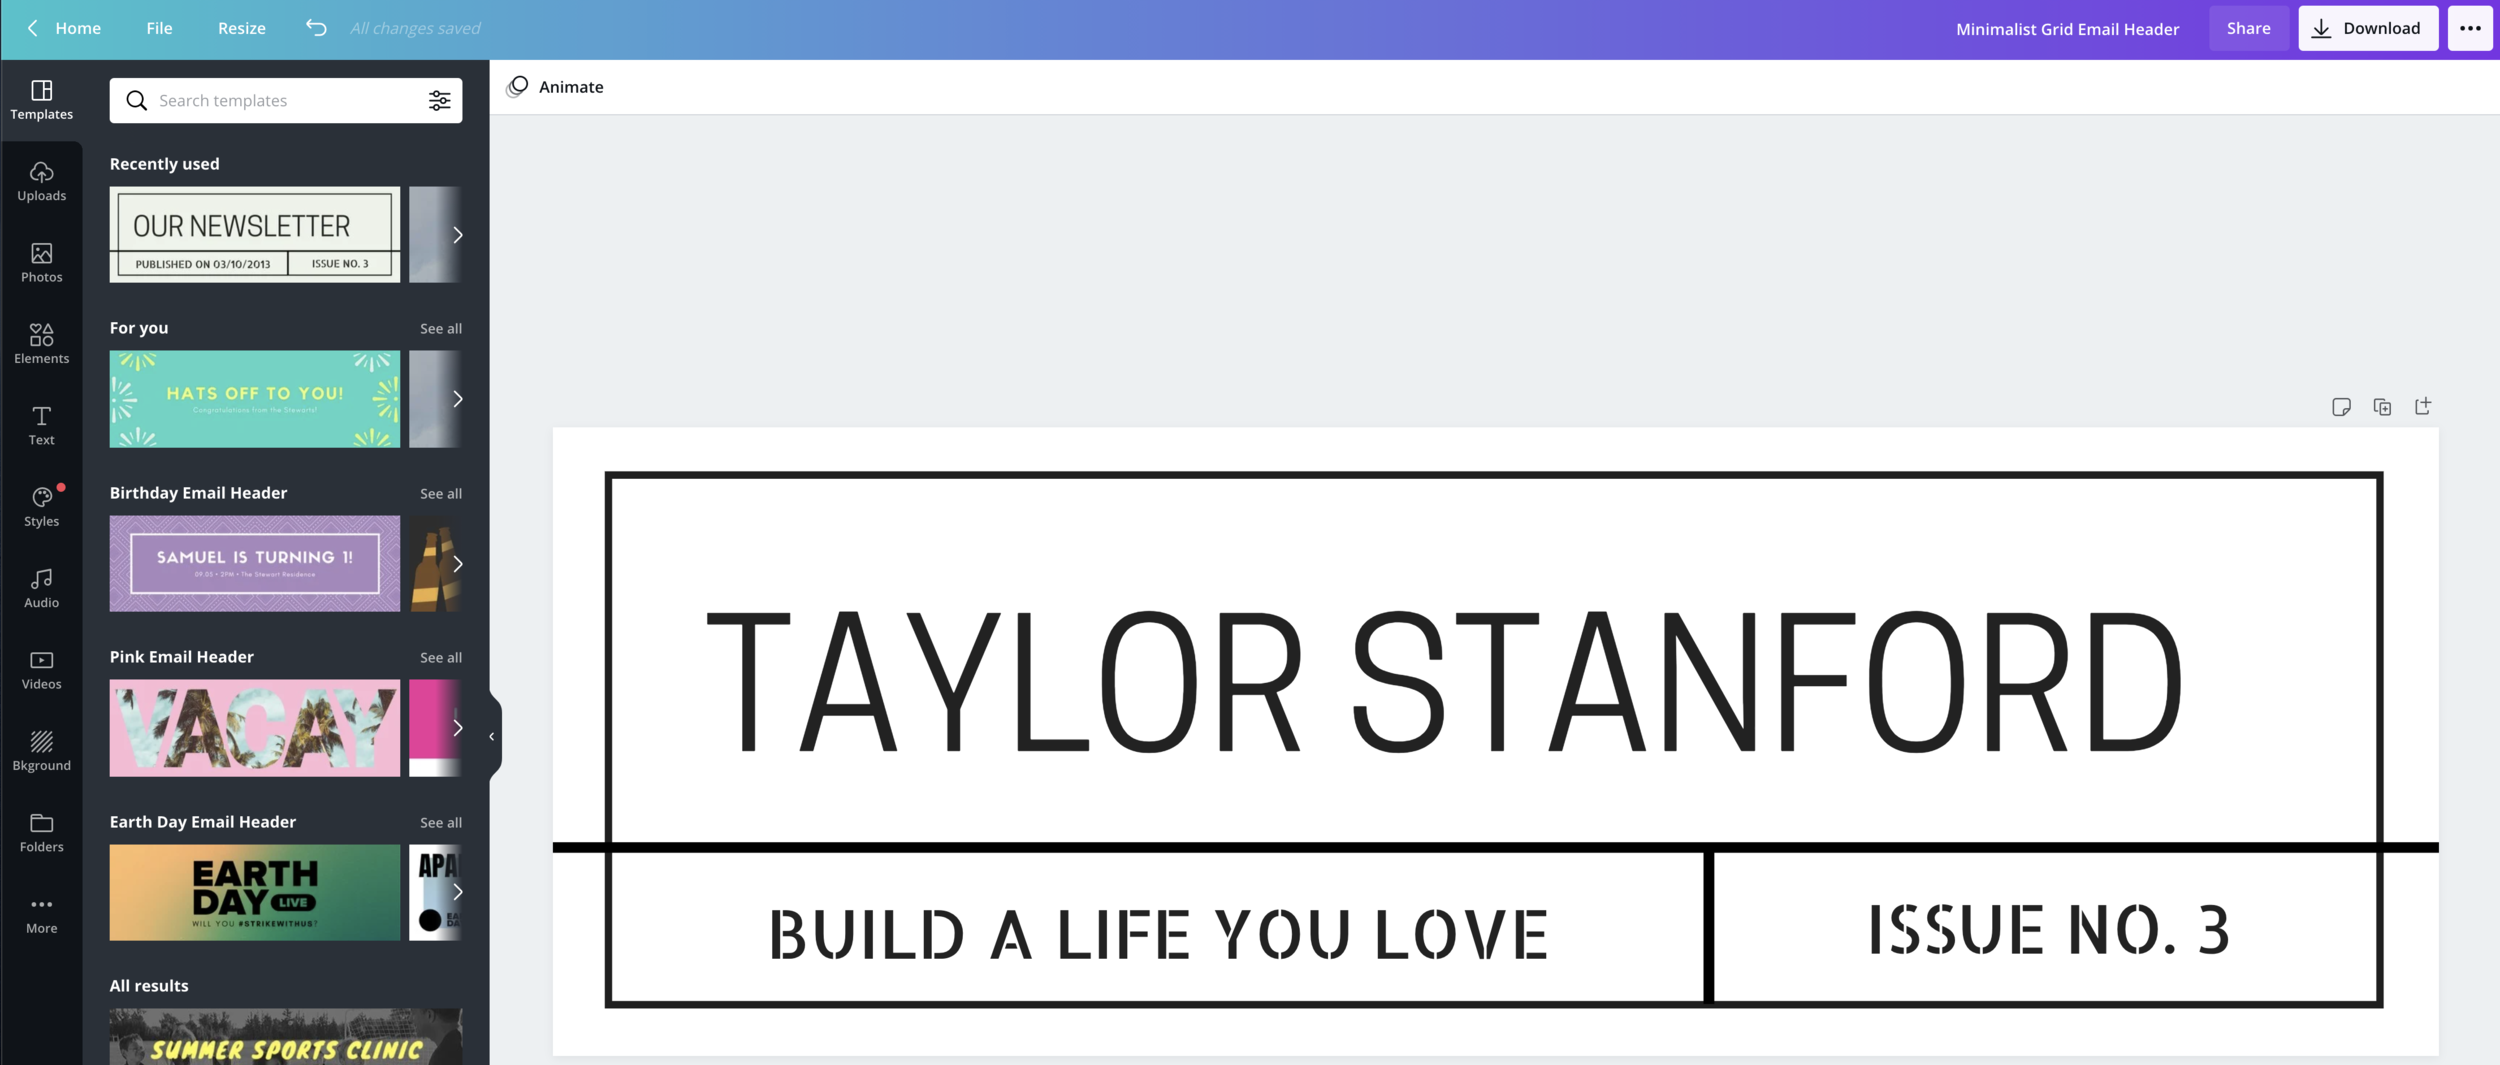
2. Choose a size I normally type in the search “email header” and use that as my starting design.
Look through your options
Find a photo/color scheme/ font that you like to build on.
The image I decided to use is the one that says " Our Newsletter"

3.Once I get the image I want then I type my website’s name in the box and change the background color to match my themes color.
4.Then I go over and click download and download the image as a high-quality PNG.
5. Go to your new website wwww.yourwebsite.com/admin and login to your WordPress.org
6.Once you login go to your website and click “appearance” > then “customize”
7. Find the part where you can edit your site’s header (In some themes they call it your logo). To find it click through the settings options you see on the left.
8.When you find the place to add a header or logo Click “Add new image”
9.Upload image.
10. Skip cropping if you can if not crop it to fit your theme.
There you have it a new logo/header for your blog!

THE OTHER PARTS OF THE SERIES!
You are ready for part four; which you can get byclicking here. We will be talking about how to add plugins, and what plugins you need for your blog.
Here are the links for all of the series:
Part 2: Choosing and Installing Your First Theme (for free)